
Table of Contents
Professional Manicure And Pedicure step by step at home

A manicure or pedicure is the best way to get pampered. However, classroom-level care can be expensive. With a little effort, you can get salon-style nails at home. File your nails and push back the cuticles before applying a base coat, nail polish, and topcoat. You will end up with high-quality nails that will amaze your friends and family.
When we talk about manicures and pedicures, the most obvious difference is the location of the body where both take place: everyone knows that a manicure is for their hands and a pedicure for their feet. There are also many features between a manicure and a pedicure. Plus, they both provide relaxation, make nails, hands, and feet look better, and both can do at home and a spa.
you can also check:https://theinfodom.com/category/health-nutrition/
Manicure:
A manicure is a cosmetic nail and hand beauty treatment performed at home or in a nail studio. Manicure includes shaping the nails with a nail file, cuticle treatment, nail polish, and possibly a hand massage.
Pedicure:
pedicure Beauty treatments for feet and toenails. Pedicures don’t just include toenail care; Dead skin cells are rubbed with a rough stone on the bottom of the feet. Skincare is often given down to the knee, including granular blasting, hydration, and massage.
Prepare your tools. To do a great manicure, you need certain supplies. Most supplies are available at a local makeup store or pharmacy. To do a salon-style manicure, you will need the following:
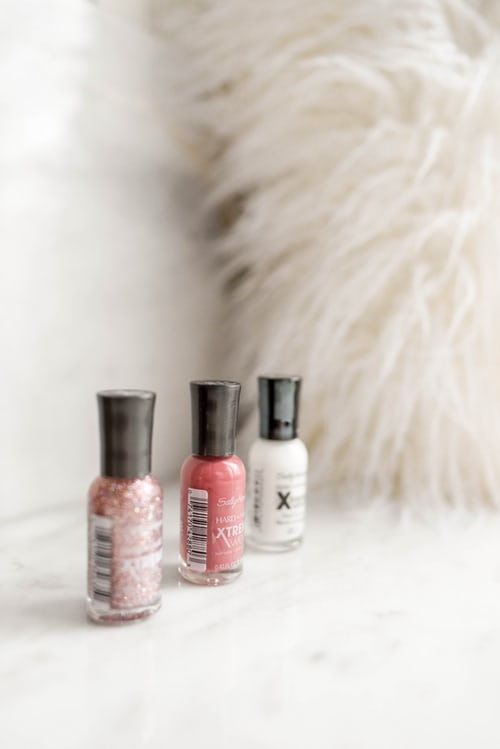
- Nail polish, a base coat, and a topcoat
- Nail polish remover
- Cotton balls
- Q tips
- A container filled with warm water and moisturizing shower gel.
- A set of manicure tools, including a cuticle disc and a knife
- Cuticle cream
Remove old nail color
Choose a nail polish remover without acetone. Nail polish removers with acetone tend to remove the enamel faster. However, they also contain harsh chemicals that can wear down the nails. You should opt for an acetone-free nail polish remover, especially if you regularly clean your nails. Check the ingredient list of any nail polish remover you use to make sure it doesn’t contain acetone.
Remove all old nail polish. To start, you need to remove all the previous enamel. If you don’t have old nail polish, you can skip this step. You should not soak your nails in a remover. This can be hard on your nails. Instead, apply a cotton ball with a remover and gently rub your nails until the excess enamel comes off.
Moisturizing Cuticles
Moisturize your cuticles. You need to moisturize your cuticles before applying nail polish. This can help your skins retain moisture, keeping your nails healthy.
Near the root of the nail, there is a small flap of the skin known as a cuticle. Apply a little moisturizer to this skin.
Gently massage the cream into your skin until the pieces of cream dissolve on your skin.
Soak hands in Lukewarm water
Soak your hands for 5-10 minutes. Take your manicure tab, yeah, take a hefty cost of warm water filled with shower gel. Place your fingertips in the bowl. Let them soak for two minutes.
You can use a watch to keep track of time, but you can measure the two-minute mark by counting up to 120 on your head.
Push back your cuticles
Push back your cuticles and cut off old skins. Take your cuticle slider, a small stick made of wood or plastic. The older cuticles come from under the pushed back cuticles. Take your cuticle cutter and run the blade along your cuticles to cut them.
You should be careful with this step. Be very careful when you push back your cuticles and cut them. Use prolonged movements. Cutting or pushing hard on the skins can cause infection.
Never avoid soaking your fingers before fend off your cuticles. If your hands are slightly wet, the skins move more quickly. This can also help prevent infection.
Cut and file your nails. If your nails are not the size and shape you want, cut and file them now. You can also use a set of nail clippers and a filer for this. You should also use a nail buffer to soften the top of the nails.
Cut the nails to the desired length. Then take a file and put it in good condition. Salon-style manicures generally present the nails square or around the edges of the nails. To create a square look, file each nail on it and smooth the edges a bit so that they are not too sharp. For around look, file the nail tips in a smooth curve. Make sure to file your nails in one direction only. Start at one end and continue to the other.
Do not use a metal filer. They can be too hard. Choose a nail file or a crystal nail file.
Exfoliate hands and feet
Exfoliate your hands, wrists, and forearms with a scrub that removes dead skin cells and replenishes moisture. Grab your orange stick again to wipe away the dirt under your nails gently. Then wash your hands and dry them thoroughly.
Moisturize hands and feet cuticles.
Now Moisturizing to avoid smudging almost-dry nail polish later. A luxe, light alternative to a hand cream that’s also ideal for cuticle hydration: Mario Badescu Rose Hips Nourishing Oil, which manicurist Geraldine Holford used for Gigi Hadid’s show-stopping Met Gala manicure. Take the opportunity to give yourself a mini hand massage—just because you’re not at a spa doesn’t mean you can’t relax for a minute.
Apply a base coat.
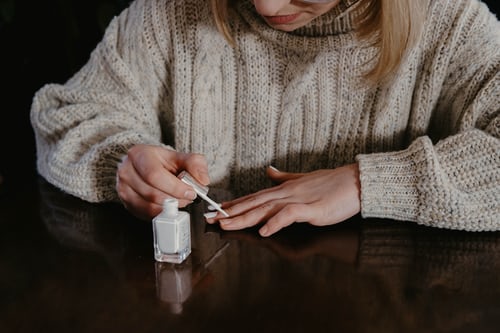
Apply a base coat to moisturize and protect nails and prevent splinters. Then relax for a few. Nail guru Essie Weingarten, a founder of Essie, recommends waiting a full two minutes between each coat, starting with the base coat. Try Essie Here to Stay to fix the color and prevent stains on your nails.
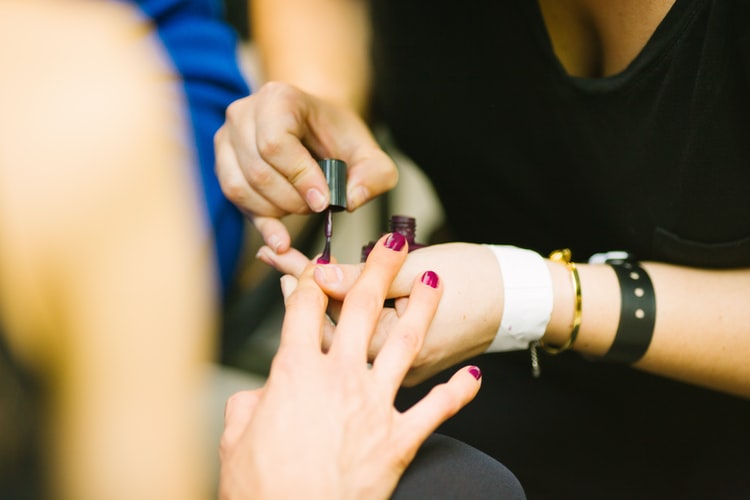
Apply your first color coat.
Now for the fun part: apply a layer of your choice (a few favorites here for ideas) and make sure to bring the brush up to the cuticle and into the corners of the nail. The maximum coverage in the first layer makes the second layer very easy. Just keep the layer thin. “Many of us overload the brush and hit too much,” said Thea Green, founder of Nails Inc. “The key is to load enough nail polish on the brush to cover the nail in one layer.” She recommends tearing your nail three times: once in the middle, once on each side. Another trick that helps: Try a polished handle, such as The Poppy from Olive & June, to keep your hand firmer while painting.
Apply your second coat of color.
After a full two minutes, apply the second coat of nail polish. Transparent or pastel shades may require a third coat for complete, seamless coverage. Don’t forget to keep it nice and slim.
Finish with a topcoat.
A topcoat protects your manicure from splinters, and polish nails do not flake or significantly shortens the life of the paintwork you’ve worked so hard on. A word of warning: be careful when applying the topcoat as a messy application can ruin your entire manicure. “I see this all the time,” says manicurist Madeline Poole. “Women, of course, think you can’t see it. But really, once it dries up. ” The reason? Contraction. “The top layers tighten as they dry, which can cause the little ridges if you don’t apply them properly.” To give nails that really mirror-like shine that you get in the salon, follow a separate shine enhancer
Clean the rough edges and let your nails dry.
Order the critters or wobbly edges by wrapping a piece of cotton dipped in nail polish remover around the end of the cuticle stick and carefully following the nails. If you have nail polish removal pads, fold one into a triangle for more precise application. Then let your nails dry for another five minutes – it’s worth it if you show your nails and surprise everyone by revealing that they are DIY.
Tips for a Perfect Manicure and Pedicure
Always wear a base coat and topcoat. To showcase a salon-quality manicure and pedicure at home, take these essential steps to protect
Disinfect your tool
Disinfect your tools after your last manicure and pedicure. Clean your tools after each use to prevent bacteria and infection build-up.
Hydrate your hands and feet
Hydrate in advance! Moisturize in advance with hand lotion or body lotion so that your newly painted nails dry safely.
Don’t use Q tips
Don’t use Q tips to clean up nail polish bugs. Q tips are not ideal for this detailed procedure. Instead, go for a makeup brush dipped in natural nail polish remover to freshen up any stains.
Don’t shake your nail color
Roll – don’t shake it! – your bottle of nail polish. This prevents air bubbles from forming for a smoother manicure and pedicure.
Do your manicure and pedicure in a cool and dry environment. This allows the nail polish to dry completely between the layers.
Wear New nail Polish Without ten
There you go! Now you are ready to do a DIY manicure and pedicure! You can enjoy this little bit of indulgence at home, with ten-Free Nail Polish as a cleaner alternative to conventional products. Now put on your nail polish!
2 thoughts on “Professional Manicure And Pedicure step by step at home”